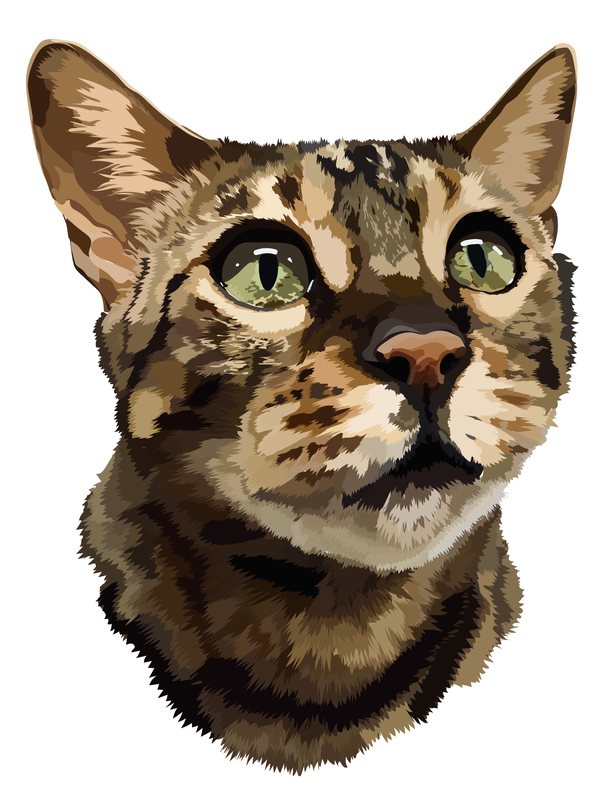
For this week, I continued to work on my project of making a digital portrait of my cat, Ingwe. I really am happy with how this project turned out and it was a lot of fun to work on it a bit each day and share my progress with my mom who loves it when I make art. I think I will continue making these types of portraits and if I can become faster at making them, they would be a very nice gift to put in a thank you card or something along those line. I plan on surprising my mom with this portrait, printed and put in a frame because she loves it and she loves art gifts. Overall, I thoroughly enjoyed finishing this project this week and look forward to using illustrator to make more vector portraits.
0 Comments
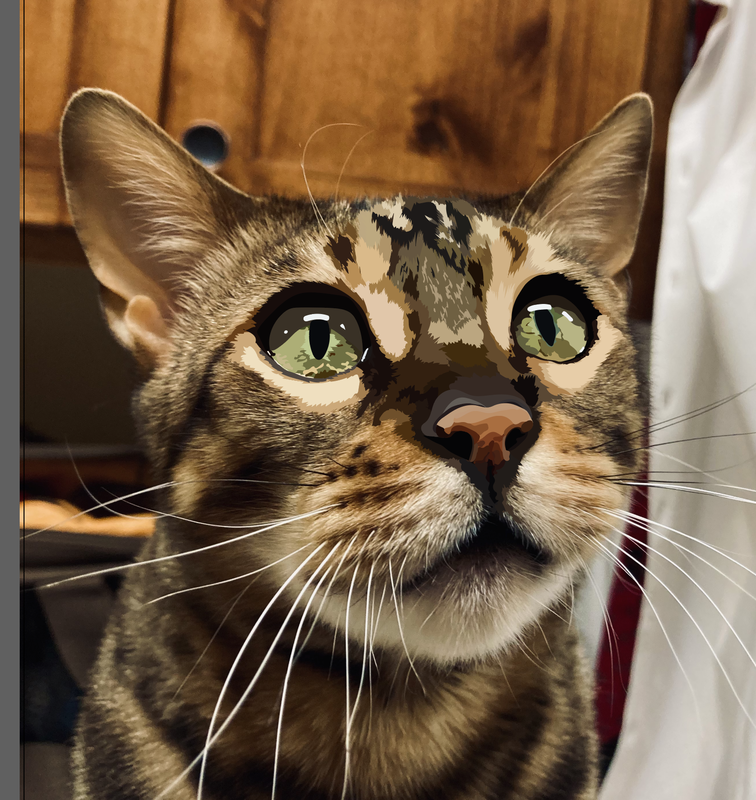
In the first week of this project, I started with coloring the nose and eyes. I started with those first because in order to create the look that the original image has with depth and shape to the cat, I have to layer it. I didn't actually use a bunch of different layers to to do this though thanks to a handy tool Adobe Illustrator has. I start with coloring the very top layer, and when I move on to the layer "below" that one, I can do a right click on my mouse and a list of options will appear. At the bottom of that list is the button that says "arrange", I can hover my mouse over it and another set of options will appear that allow me to change the layering of that specific color piece I am working on. I have the option to send it to the back, which puts that color shape behind the top shape. Once I finished with the eyes and nose, I set that as its own layer and locked the layer so I wouldn't have to worry about messing it up when I am working on the next part of the portrait. During this time I used the lock tool to lock the background image to also not have to fuss with the picture. |

|
